
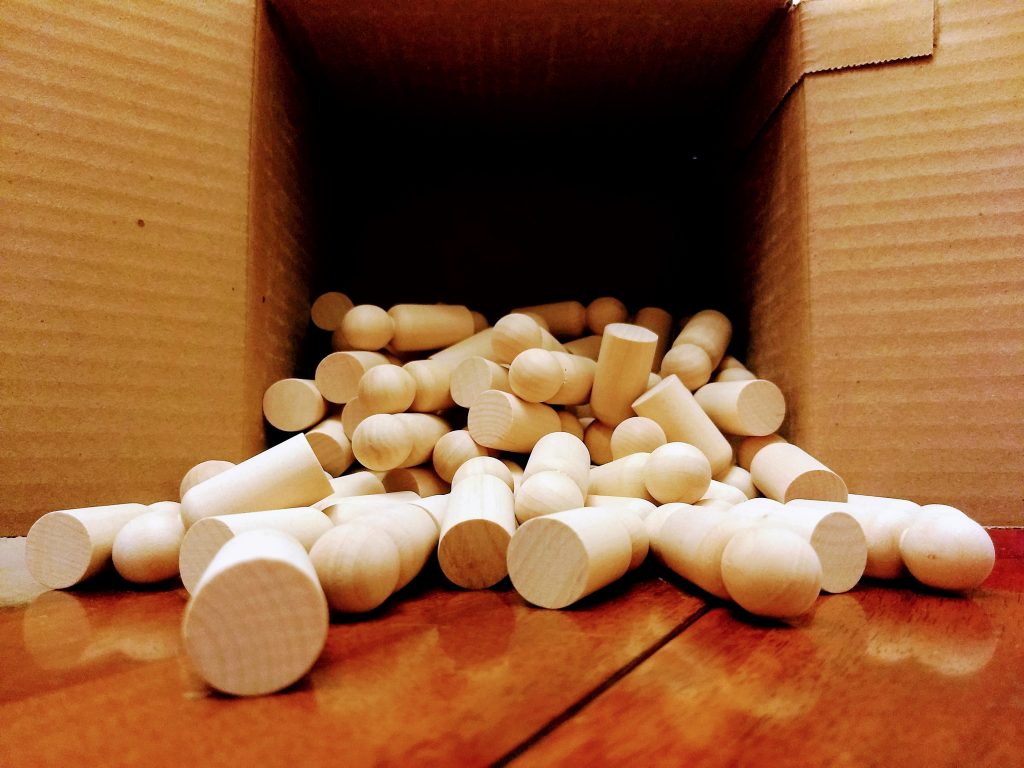
Are you looking for a fun and challenging creative outlet? Do you have a knack for painting, but are looking for a new canvas to unleash your inner artist? Look no further than peg dolls! These tiny wooden figures may look unassuming, but they’re actually a blank canvas just waiting for your artistic touch. So grab a few blank or Pegsies peg dolls and let’s dive into some tips and tricks to help you make your peg dolls pop!
1. Choose the right medium
Choosing the right medium for painting peg dolls is like choosing the right outfit for a first date. You want something that looks good, feels comfortable, and won’t make you sweat like a pig in a sauna. That’s why fine tip acrylic paint markers are a great choice for peg dolls. They’re easy to use, provide vibrant colors, and won’t leave you with a sticky mess to clean up.
With fine tip acrylic paint markers, you don’t have to worry about brushes, water cups, or messy palettes. You can just pick up a marker and start painting like a boss. Plus, they’re great for people who have the artistic ability of a potato. I mean, let’s be real, it’s hard enough to paint on a flat surface, let alone a three-dimensional object. But with fine tip acrylic paint markers, you can achieve the same level of detail and precision as a Renaissance painter. So go ahead and treat yourself to some fine tip acrylic paint markers. Your peg dolls will thank you, and you’ll feel like the Bob Ross of miniature art.
Pegsies Recommends
We love the ease of acrylic paint markers, specifically fine tip markers that get details just right. Below is the least expensive set of paint markers we could find on Amazon and found them to work great! After painting, we seal our work with Liquitex (Matte finish if you don’t want it to be too shiny). Mod Podge also works well, but have found it gets sticky when wet or hot.
Below are links to a few products we recommend. Please know that these are affiliate links. We appreciate you supporting Pegsies by using these links since as an Amazon Associate we earn from qualifying purchases.
2. Prepare the peg doll
Preparing a peg doll for painting is like preparing a pizza for toppings. You wouldn’t just throw some cheese and pepperoni on a raw ball of dough, would you? Of course not! You have to knead the dough, add some sauce, and maybe even sprinkle on some garlic powder. It’s the same with peg dolls. You have to be intentional and take the time upfront before paint touches the peg doll. Otherwise, you’ll end up with a lumpy, bumpy mess that looks like it was painted by a blindfolded chimp.
One key aspect of preparation is sanding the doll to remove any rough spots or imperfections. This will help create a smoother surface for painting and ensure that the paint adheres properly. Sanding can be done using fine-grit sandpaper or a sanding sponge, and it’s important to take your time and be gentle to avoid damaging the doll.
Another important aspect of preparation is applying a bottom coat of sealer. This can help make it easier to fix mistakes or make changes during the painting process. By applying a sealer to the doll before painting, you create a protective layer that prevents the paint from soaking into the wood. This means that if you make a mistake, you can simply wipe it off with a damp cloth or sand it down without damaging the underlying wood. Additionally, a sealer can help create a smoother surface for painting, making it easier to apply and blend colors. Overall, taking the time to prepare your peg doll for painting can lead to a more professional-looking and long-lasting finished product.
Pegsies Recommends
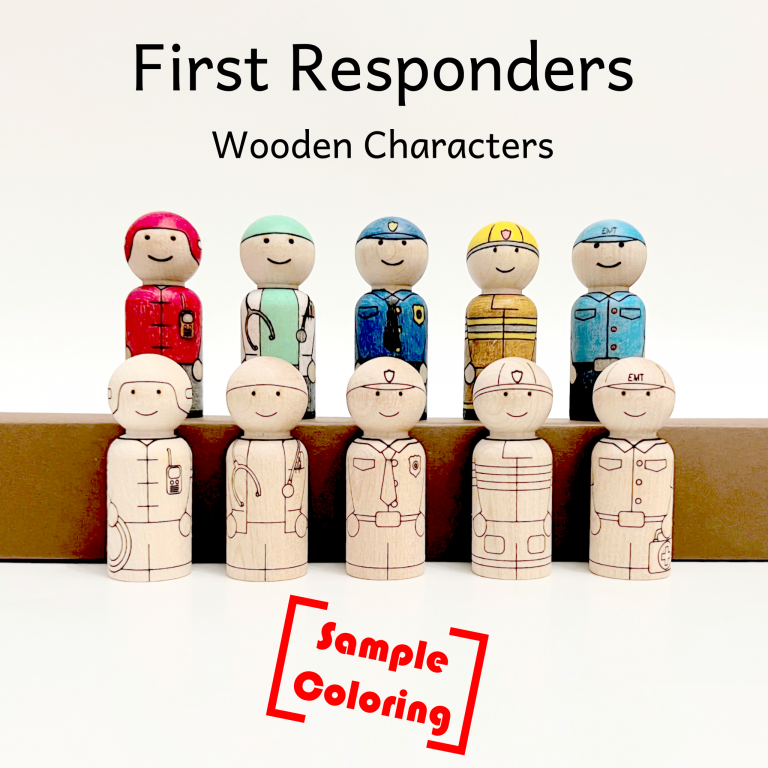
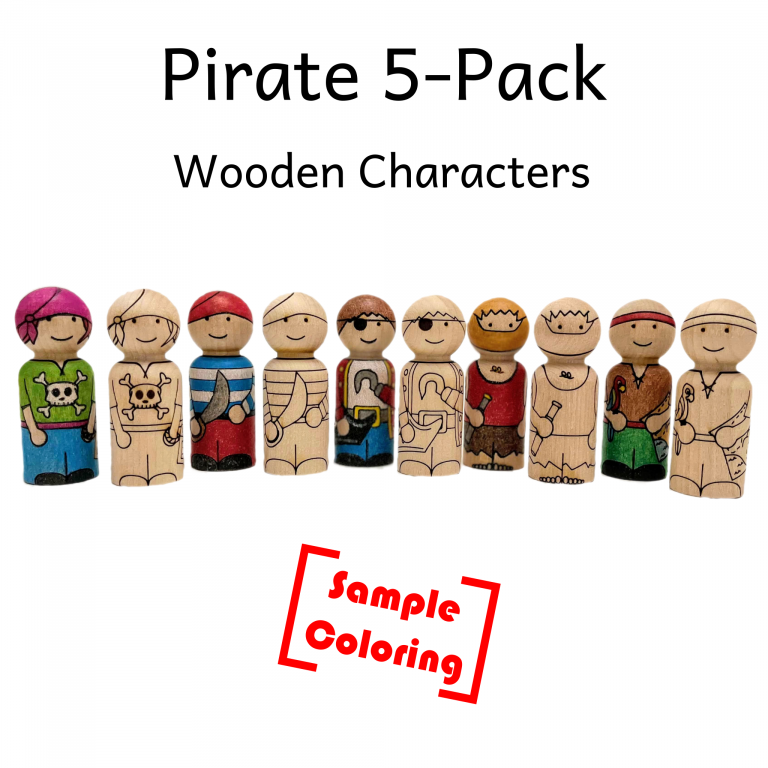
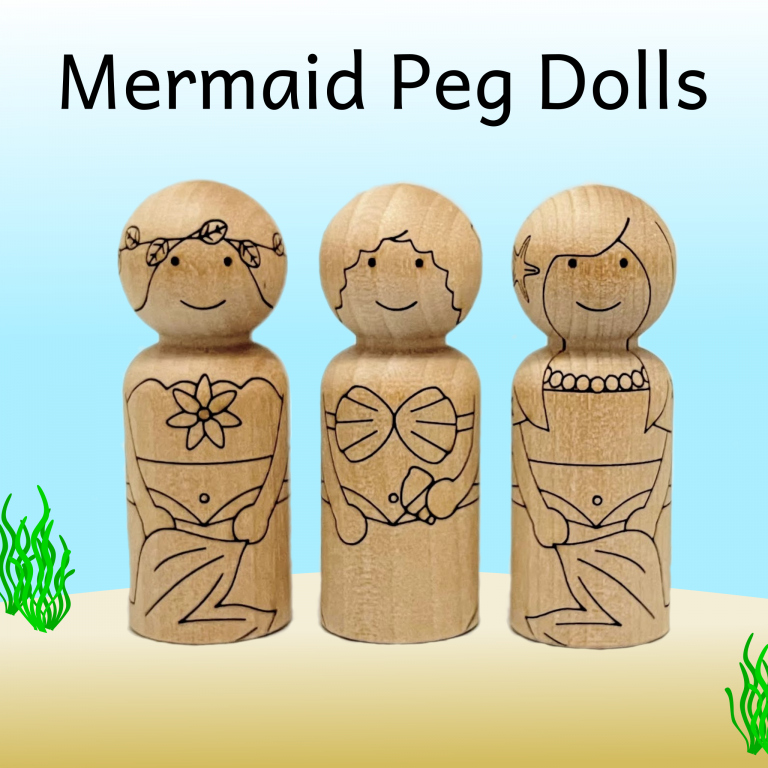
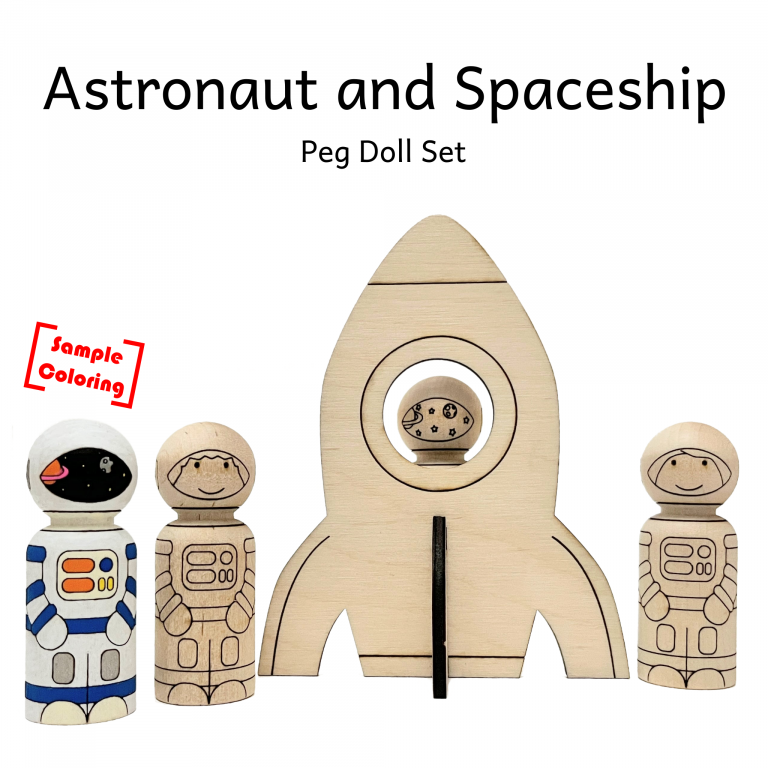
If you are painting a Pegsies Peg Doll, hopefully there isn’t much prep work needed! We strive to provide you with a ready-to-play or ready-to-color peg doll that is smooth with clearly etched lines. Depending on your coloring medium, you might want a smoother surface or bottom coat. For example, color pencil tends to look best on a smooth surface, while water color might have some unique character when used on a rougher surface.
For sandpaper, any brand will do, but we prefer 120 or 220 grit to smooth out surfaces. For a bottom coat primer, most top coat sealer will work.
Below are links to a few products we recommend. Please know that these are affiliate links. We appreciate you supporting Pegsies by using these links since as an Amazon Associate we earn from qualifying purchases.
3. Make a plan
Have you ever started painting peg dolls without a plan, only to end up with a group of unrecognizable blobs that look like they were painted by a toddler? Yeah, me too. That’s why it’s important to make a plan before you begin painting. Not only will it help you avoid a disastrous outcome, but it’ll also make you feel like a professional artist.
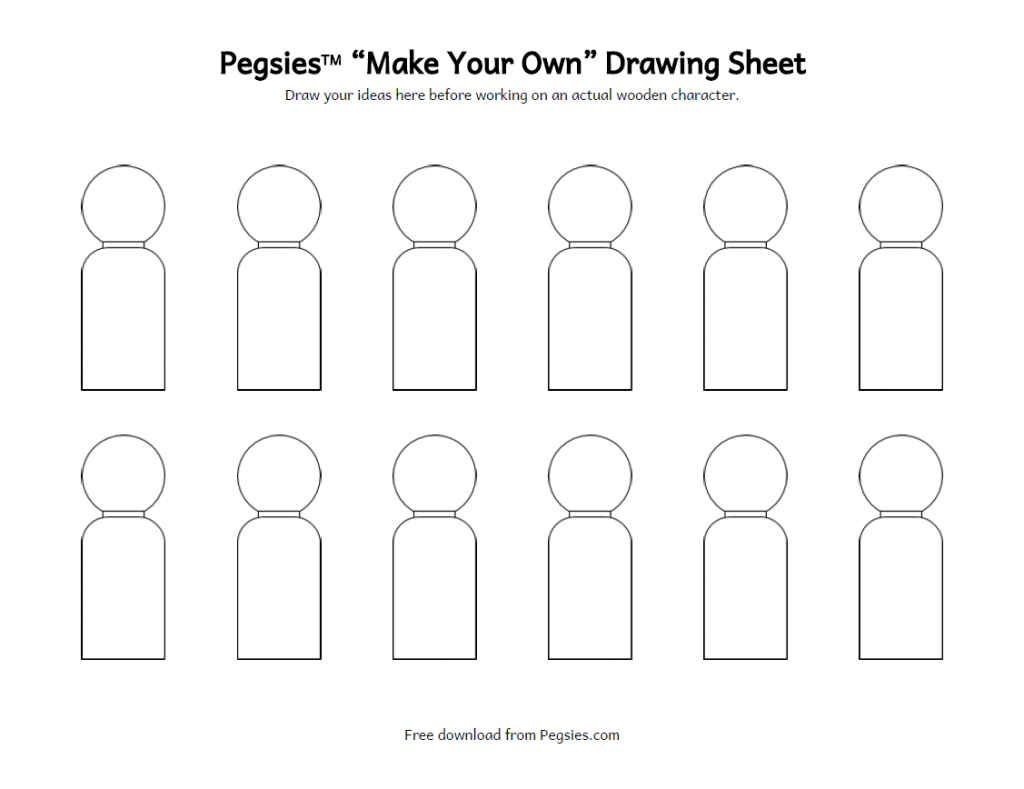
Making a plan doesn’t have to be complicated. Just take a moment to think about what you want your peg dolls to look like. Do you want them to be superheroes, princesses, or zombies? Once you have a general idea, grab a piece of paper and sketch out your designs. Trust me, your peg dolls will thank you for it. Plus, you’ll avoid the embarrassment of having to explain to your friends and family why you painted a peg doll that looks like a melted crayon.
Pegsies Recommends
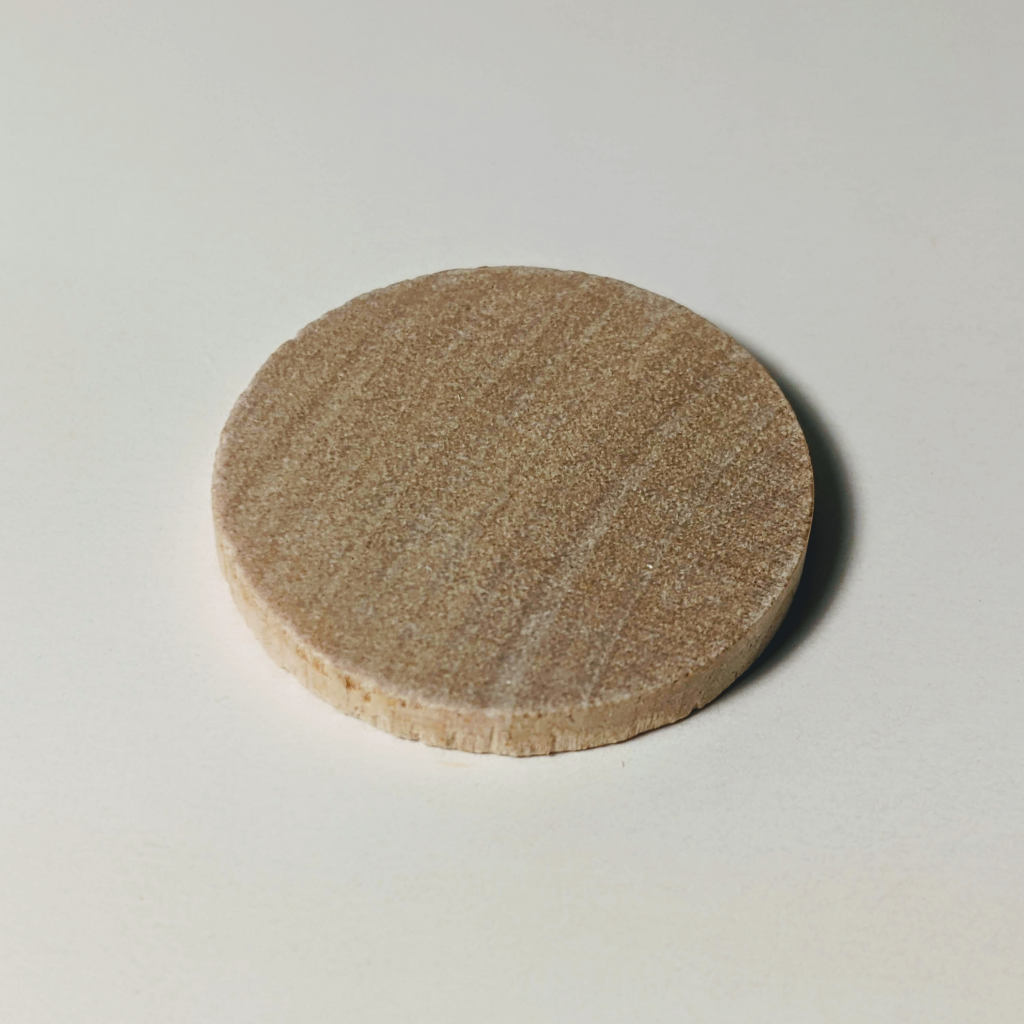
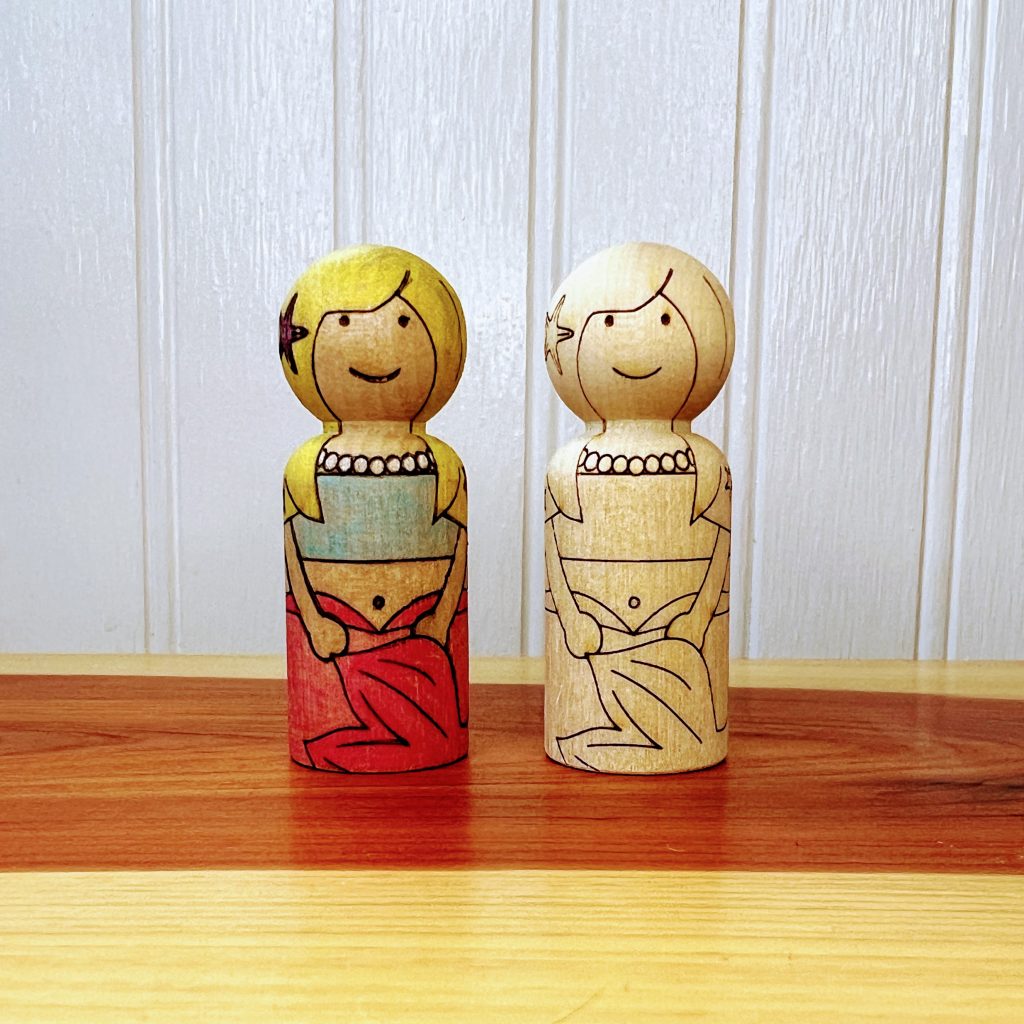
If you are painting a Pegsies peg doll, most of your plan will center around colors. The design is already done for you! To test your coloring medium, we include 1 inch wooden tokens so you can see how your color looks on wood before applying to your peg doll.
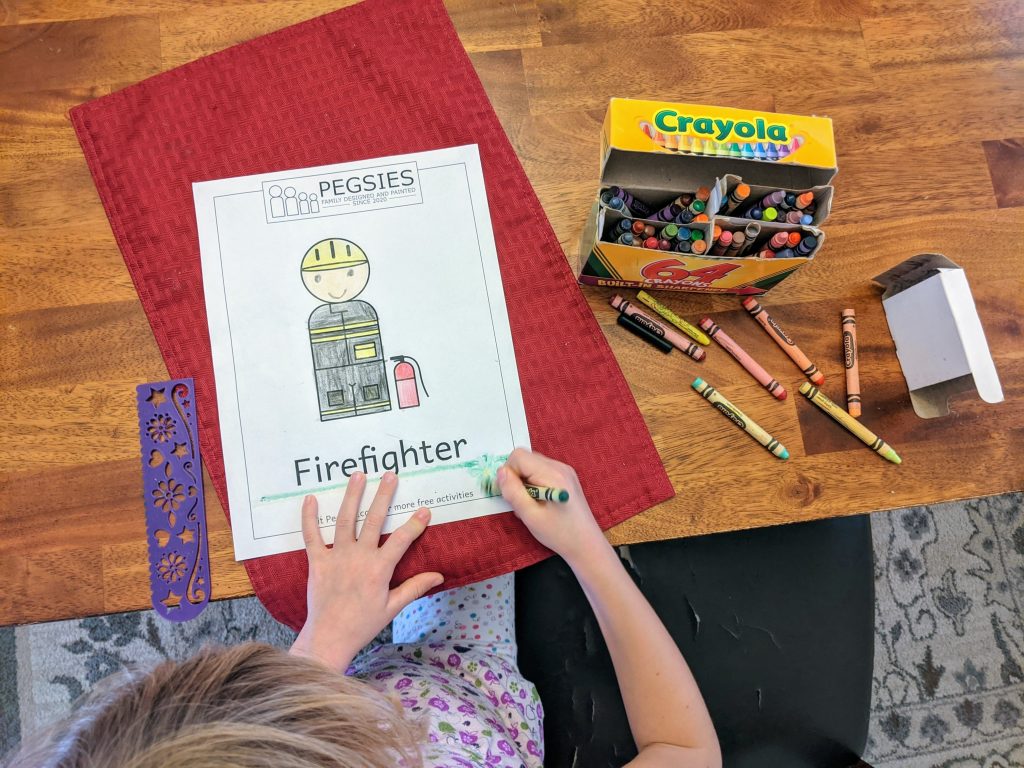
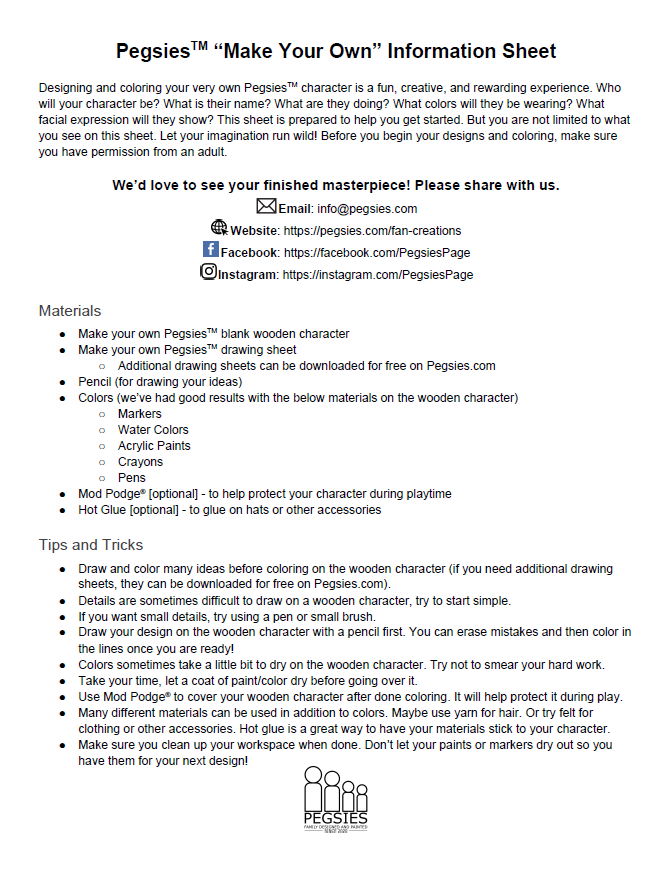
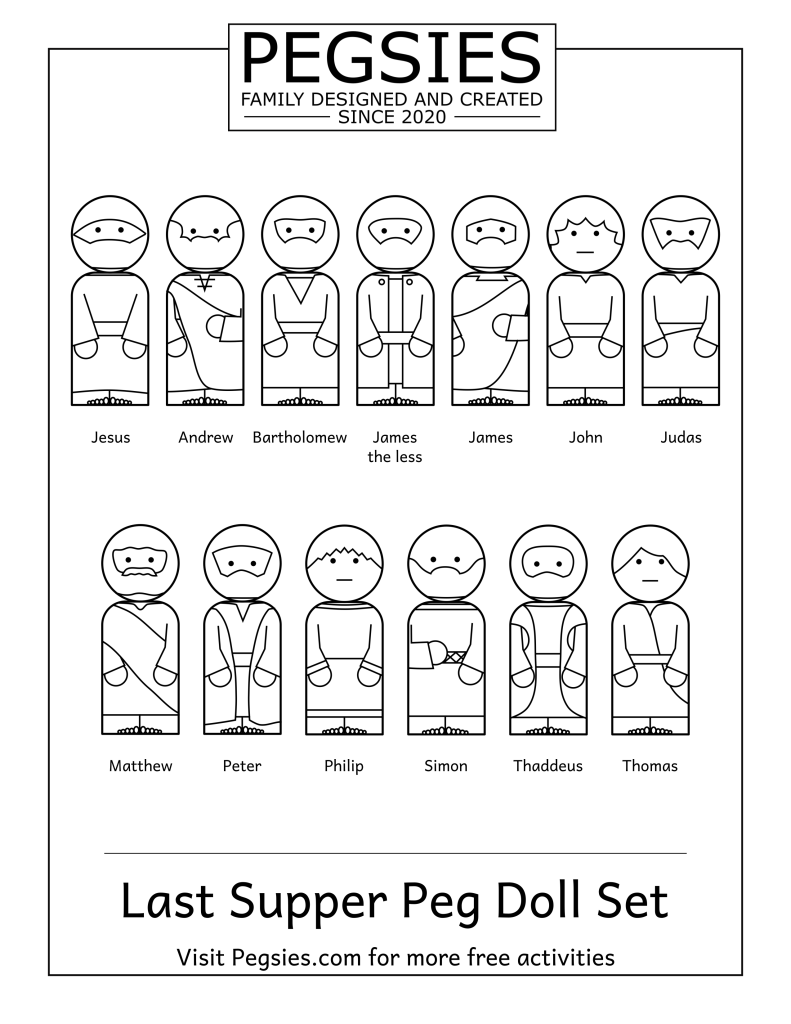
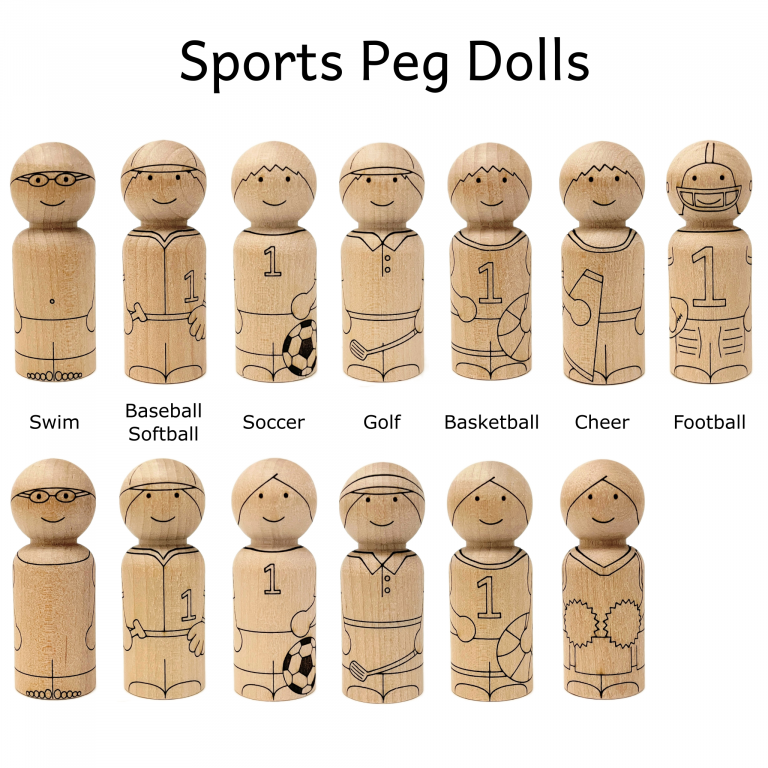
If you are starting from scratch … please draw out your design. It makes the process less stressful and will allow you to more enjoy the creative process, one step at a time. Pegsies has printables to help you through the design process. And if you are coloring a Pegsies peg doll, we have printable coloring sheets for many of our designs.
4. Take your time
When it comes to painting peg dolls, it’s important to remember that patience is a virtue. Sure, you might be tempted to rush through the painting process like a caffeinated squirrel, but trust me, that’s a recipe for disaster. Instead, take your time and approach the painting like a meditation session. You’ll be surprised at how calming and enjoyable it can be.
If you find yourself getting frustrated or bored, it’s okay to take a break and come back to it later. In fact, it’s probably better for your mental health if you don’t spend hours on end hunched over a tiny peg doll, muttering to yourself like a mad scientist. So go ahead and take a nap, play with your dog, or go for a walk. Your peg dolls will still be there when you come back, patiently waiting for you to give them the attention they deserve. And who knows, maybe you’ll come back with a fresh perspective and a newfound appreciation for the art of peg doll painting.
Pegsies Recommends
This one is up to you. As a family business we have realized time and time again that no two Pegsies creators’ workflow is exactly the same. Find what works for you and find your joy in the process.
Thanks for reading through our article! We always love hearing what tips, tricks, and recommendations other creators and artists have found and are willing to share. Remember, painting peg dolls is fun. If you aren’t having fun, take a step back, look at your process and the materials in front of you, and be honest with yourself about what is causing the stress.
If you’d like to see some videos we put together on painting peg dolls, check out our “Coloring Timelapse” playlist on YouTube.
Happy painting!






Thank you for all of this great information, but your links are not working! Will you please update/refresh or send me the links 🙂
Hi Amy, thanks for commenting. Thanks for letting us know our links were broken! We’ve updated them and our recommended supplies should not be visible in the article. Thanks!